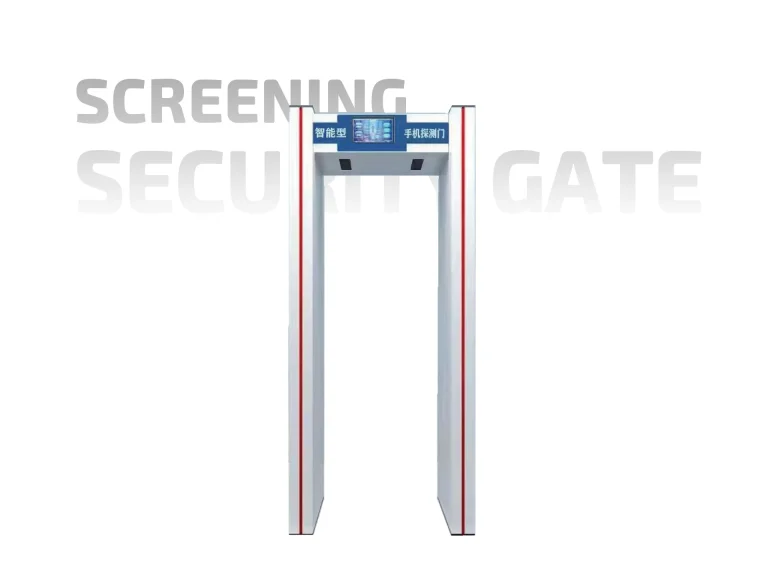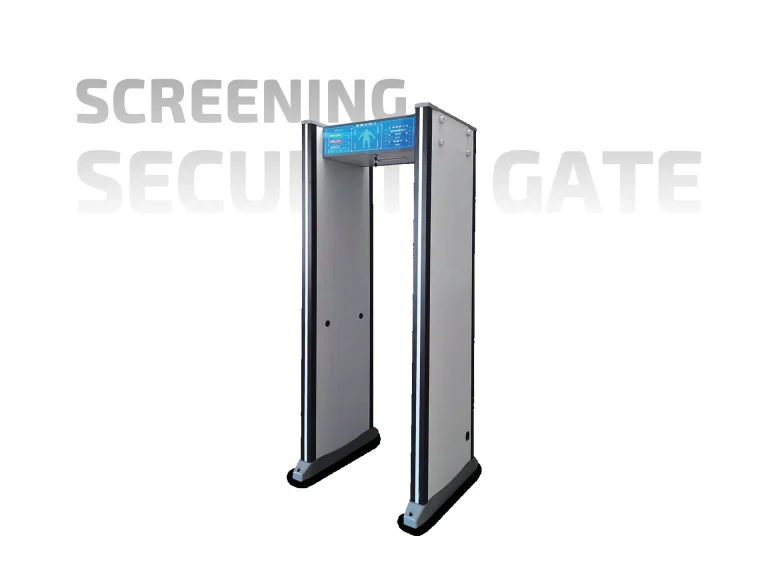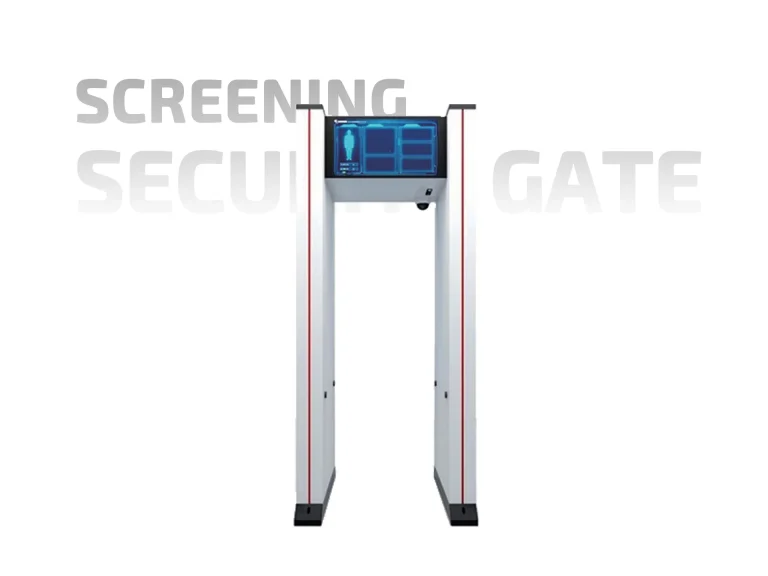
A walk-through metal detector gate looks like a simple piece of equipment: a frame, a control unit, and an alarm. In practice, it is a process node. Its performance depends on where it sits, how it is set, who runs it, and what happens when it alarms. Sites that treat the gate as a standalone purchase often end up with a lane that either misses items or alarms so often that staff stop trusting it.
This guide takes a field-first view. It covers the site parameters to lock down before purchase, how to set and verify sensitivity, how to lay out the lane around the gate, and how to keep the unit performing after installation. Cost planning across the wider lane—bags, secondary screening, service—is covered separately in our security screening system price guide; here the focus stays on the gate itself.

Start with the site, not the specification sheet
Most WTMD problems are visible before the unit is unboxed. The gate needs stable power, a level surface, enough clearance for queues, and a secondary screening point that does not block the lane. If those conditions are missing, a higher-spec detector will not fix them.
Use the checklist below during the site survey. It is deliberately short; each item should have a named owner before installation.
| Site parameter | Why it matters | Common mistake |
|---|---|---|
| Stable floor and level mounting | Uneven surfaces affect gate alignment and can cause false alarms | Installing on temporary flooring without checking level |
| Dedicated power circuit | Voltage fluctuation can affect electronics and alarm consistency | Sharing a circuit with motors, heaters, or lighting dimmers |
| Clear lane width and queue space | Attendees need room to remove metal items before the gate | Placing the gate too close to the bag table or entrance |
| Secondary screening area | Alarms need a resolution point away from the main flow | Resolving alarms in the lane, causing a bottleneck |
| Nearby metal structures | Large metal objects can distort the detection field | Positioning the gate beside steel doors, racks, or machinery |
| Weather protection | Outdoor units need rain and temperature protection | Assuming an outdoor-rated unit needs no shelter |
Sensitivity is a balance, not a maximum
Higher sensitivity is not automatically better. A gate set too high will alarm on phones, keys, belt buckles, and orthopaedic implants, which slows the lane and encourages staff to wave people through. A gate set too low may miss small prohibited items. The right setting comes from the site risk assessment, the items the gate is expected to detect, and a test with representative objects.
Three practical rules help:
-
Test with the items you expect to detect, not just the manufacturer’s test piece. A test piece confirms the unit is working; it does not prove the setting matches your threat profile.
-
Record the setting and the test result. If the setting changes, the record shows when and why.
-
Re-test after any layout change. Moving the gate, adding a metal barrier, or changing the power supply can affect performance.
Lay out the lane around the gate, not the other way around
A WTMD gate works best when attendees arrive prepared. That means signage and staff instructions before the gate, a place to put metal items, and a clear path for anyone who alarms. The gate itself should not be the first thing an attendee reaches after the entrance.
A workable sequence for a combined lane is:
-
Greeter explains what needs to be removed and directs attendees to the bag table.
-
Bag check handles bags before the person reaches the gate.
-
WTMD pass-through screens the person, with a staff member positioned to observe and direct alarms.
-
Secondary screening point handles alarms, hand-held detector follow-up, and any item resolution.
-
Supervisor monitors lane balance and authorizes exceptions.
The distance between the gate and the secondary point matters. Too close and the alarm queue blocks the gate; too far and staff cannot monitor both. A short, marked path usually works better than an open area with no defined flow.
Write the alarm resolution script before opening
Alarm resolution is where most lanes slow down. Staff need a consistent sequence, not a general instruction to “check the alarm.” A simple script is enough:
-
Stop the attendee at a marked point, outside the gate.
-
Ask them to remove the likely item if it is obvious and safe to do so.
-
Re-pass through the gate if the item is removed.
-
If the alarm persists, use a hand-held detector and follow the site’s search procedure.
-
If the alarm still cannot be resolved, escalate to the supervisor or secondary screening area.
The script should be briefed before the shift and practiced during a pre-opening walk-through. It should also cover attendees who cannot pass through a standard gate, including people using wheelchairs or medical devices. That procedure should be written, not improvised at the lane.
Test and maintain on a schedule
WTMD gates are durable, but they are not maintenance-free. Dust, moisture, cable damage, and power issues can all affect performance. A short, recorded test routine catches most problems before they affect a lane.
| Frequency | Task | Record |
|---|---|---|
| Start of each shift | Walk-through test with the approved test piece; check display and alarm | Pass/fail, time, staff initials |
| Daily | Inspect frame, cables, and power connection; clean surfaces | Checklist |
| Weekly | Test with representative items; check sensitivity setting against the recorded value | Setting and result |
| After any move or layout change | Full re-test and sensitivity verification | Change note and result |
| Per manufacturer schedule | Calibration or service inspection | Service report |
If a gate fails a start-of-shift test, it should be taken out of service until the fault is resolved. A gate that is “probably working” is worse than a closed lane, because it creates false confidence.
Common alarm causes and what they usually mean
| Alarm pattern | Likely cause | First action |
|---|---|---|
| Alarms on most attendees | Sensitivity too high, nearby metal structure, or electrical interference | Check setting and site conditions before adjusting |
| Alarms on the same spot of the gate | Localised interference or damaged coil | Inspect the frame and move the unit if needed |
| Intermittent alarms with no pattern | Power fluctuation or loose connection | Check power circuit and cables |
| No alarm on the test piece | Faulty unit, incorrect setting, or test piece issue | Remove from service and investigate |
What to compare when choosing a gate
Most WTMD gates on the market will detect a metal test piece. The differences that matter in daily operation are elsewhere: how easy the unit is to test, how clearly it indicates alarm location, how it behaves in the site’s electromagnetic environment, and how quickly service and spares are available. A multi-zone gate can help staff locate an alarm, but it adds cost and training requirements. A basic single-zone gate may be sufficient for a low-risk entrance with a well-run lane.
Ask vendors for a site demonstration with your own test items, not just a showroom demonstration. Confirm the warranty terms, the recommended test routine, and the spare-parts lead time. Those details usually matter more than a marginal difference in specifications.
Final takeaway
A walk-through metal detector gate performs as part of a lane, not as a standalone box. Lock down the site parameters first, set sensitivity against the actual threat profile, lay out the queue and secondary screening point before installation, and write a short alarm resolution script that staff can follow under pressure. Test the gate at the start of every shift and record the result. That routine turns a simple detector into a reliable checkpoint component—and makes the next equipment purchase easier to justify.