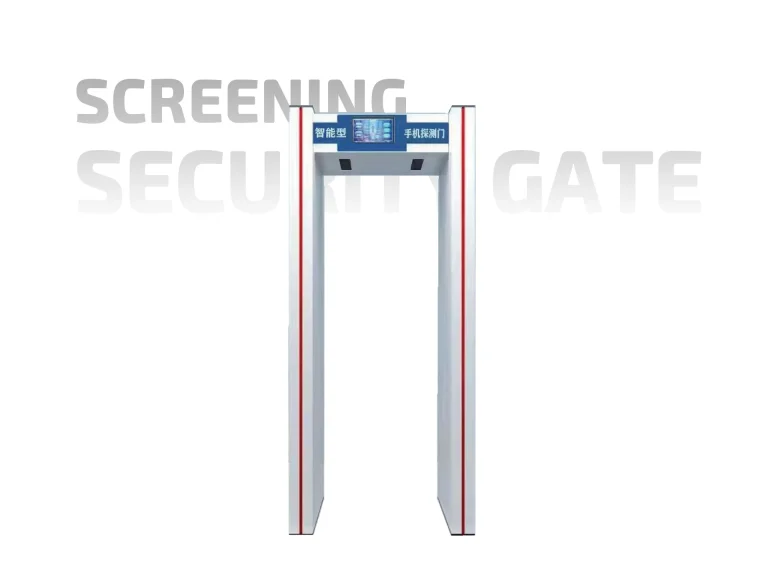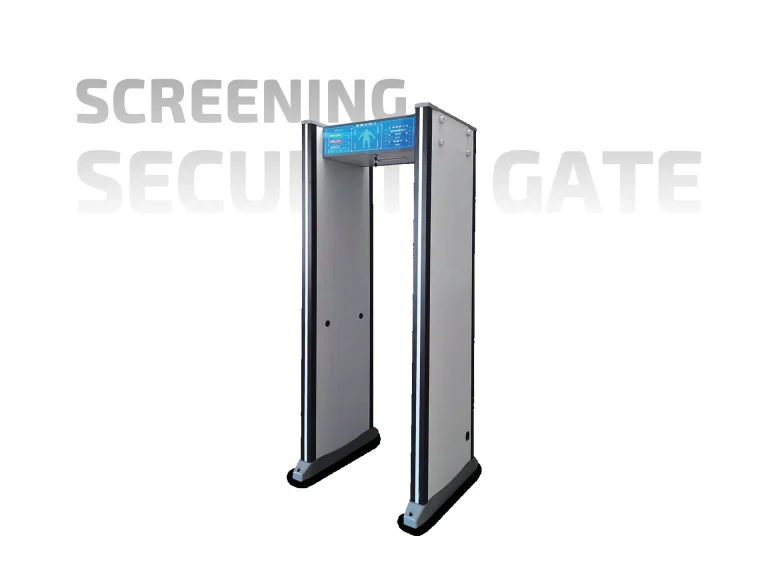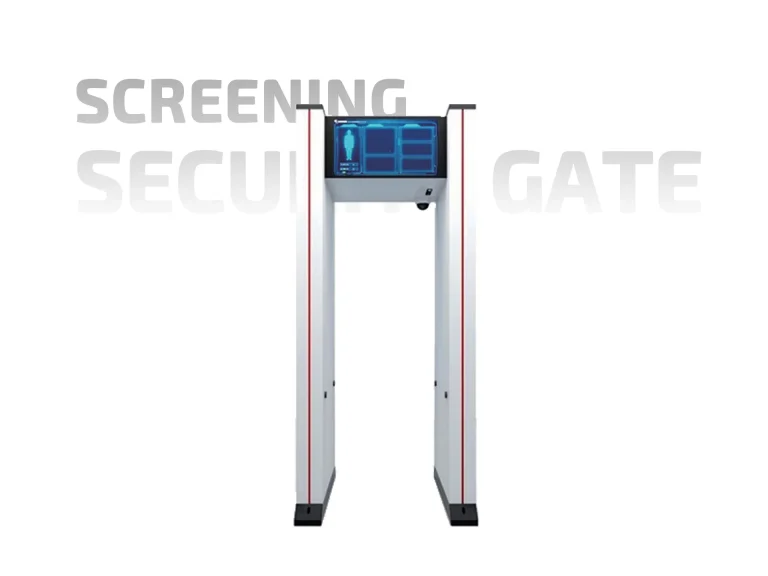
Sensitivity is the most misunderstood setting on a walk-through metal detector gate. Many buyers assume a higher setting means better security. In practice, a gate set too high can be as problematic as one set too low—it alarms on keys, phones, and belt buckles until staff stop trusting the alarm and start waving people through.
The right sensitivity is not a number on a datasheet. It is a setting that matches the site’s threat profile, the items the gate is expected to detect, and the electromagnetic conditions around the gate. This article explains how the setting works, what affects it, and how to test and record it so the lane stays reliable.

What sensitivity actually controls
A walk-through metal detector gate generates an electromagnetic field between its panels. When a metal object passes through, it disturbs that field, and the gate compares the disturbance against a threshold. Sensitivity is essentially how small a disturbance the gate will treat as an alarm.
That threshold interacts with several variables:
-
Object size and shape. A small item produces a weaker signal than a large one.
-
Metal type. Ferrous and non-ferrous metals interact with the field differently.
-
Object orientation. A flat object held parallel to the field may produce a different response than the same object held at an angle.
-
Walking speed and position. Passing close to a panel produces a stronger signal than walking through the centre.
-
Background interference. Nearby metal structures, power cables, and moving metal objects can add noise to the field.
Because these variables change by site, a setting copied from another venue is rarely optimal. The gate must be tuned where it will operate.
What happens at different sensitivity levels
The table below summarises the practical trade-offs. It is a general guide, not a prescription for any specific site.
| Sensitivity level | Typical behaviour | Advantages | Risks |
|---|---|---|---|
| Low | Alarms only on larger metal items | Fast throughput; fewer avoidable alarms | Small prohibited items may pass undetected |
| Moderate | Alarms on common metal items; some everyday objects may trigger | Balanced detection and flow | Requires clear attendee instructions to reduce avoidable alarms |
| High | Alarms on small metal items and some everyday objects | Higher detection confidence for small threats | Frequent alarms; slower lanes; staff may lose confidence in the alarm |
| Very high | Alarms on minimal metal, including clothing details | Maximum theoretical detection | Impractical for most public lanes; high false alarm rate |
The practical lesson is that sensitivity should be set against the threat profile, not maximised. A low-risk entrance with a well-managed lane may run reliably at a moderate setting. A high-security checkpoint may need a higher setting, but only if staffing and alarm resolution can handle the additional alarms.
Environmental factors that shift the effective sensitivity
Two gates set to the same number can behave differently because of their surroundings. Before adjusting the setting, rule out environmental causes.
| Factor | Effect on the gate | What to check |
|---|---|---|
| Nearby metal structures | Distorts the field and can cause continuous or localised alarms | Steel doors, racks, barriers, vehicles, machinery |
| Power quality | Voltage fluctuation can make alarm behaviour inconsistent | Dedicated circuit; avoid sharing with motors or dimmers |
| Floor surface | Uneven or moving floors can affect alignment | Level mounting; stable surface |
| Moving metal nearby | Trolleys, gates, or vehicles can trigger brief alarms | Distance from traffic paths |
| Weather exposure | Moisture and temperature extremes can affect electronics | Shelter and sealing for outdoor units |
| Cable condition | Damaged or poorly routed cables can introduce noise | Inspection and routing away from power lines |
If the gate behaves erratically, fix the environment first. Adjusting sensitivity to compensate for a site problem usually hides the issue rather than solving it.
How to test and set sensitivity
A repeatable test routine is more useful than a one-off adjustment. The following sequence works for most sites:
-
Start with the manufacturer’s recommended setting as a baseline, not a final answer.
-
Test with the approved test piece to confirm the gate is functioning.
-
Test with representative items that reflect the site’s threat profile—items similar in size and material to what the gate must detect.
-
Test with common attendee items—phones, keys, belt buckles—to estimate the avoidable alarm rate.
-
Adjust in small steps, re-testing after each change.
-
Record the final setting and the test results, including the items used.
-
Re-test after any layout, power, or equipment change.
The goal is a setting that detects the target items while keeping avoidable alarms at a level the lane can absorb. That balance is site-specific and should be reviewed when the threat profile or site layout changes.
For a broader look at how the gate fits into lane design, queue flow, and alarm resolution, see our walk-through metal detector gate deployment guide.
Common sensitivity mistakes
| Mistake | Why it happens | Better approach |
|---|---|---|
| Setting sensitivity to maximum | Assuming higher is safer | Set against threat profile and test with representative items |
| Copying a setting from another venue | Assuming sites behave the same | Tune on site and record the result |
| Adjusting sensitivity to fix interference | Treating a site problem as a settings problem | Identify and remove the interference source first |
| Never re-testing after installation | Treating the setting as permanent | Re-test after layout, power, or equipment changes |
| Using only the manufacturer’s test piece | Confusing function testing with threat testing | Add representative items to the test routine |
| No written record | Relying on memory or verbal handover | Record setting, test items, results, and date |
Sensitivity and the wider cost picture
Sensitivity requirements can influence which gate model a site needs. A high-sensitivity or multi-zone gate costs more than a basic single-zone unit, and it may require more operator training. Buyers comparing models should weigh that cost against the site’s actual detection requirements rather than assuming the higher-spec unit is always the better buy. Indicative price bands and the cost drivers behind them are covered in our walk-through metal detector gate price guide.
Final takeaway
Walk-through metal detector gate sensitivity is a balance, not a maximum. Set it against the site’s threat profile, test it with representative items, rule out environmental interference before adjusting, and record the setting and results. Re-test after any change to the site or the equipment. A gate that is set, tested, and documented is easier to trust—and easier to defend when a lane is challenged on either speed or detection.