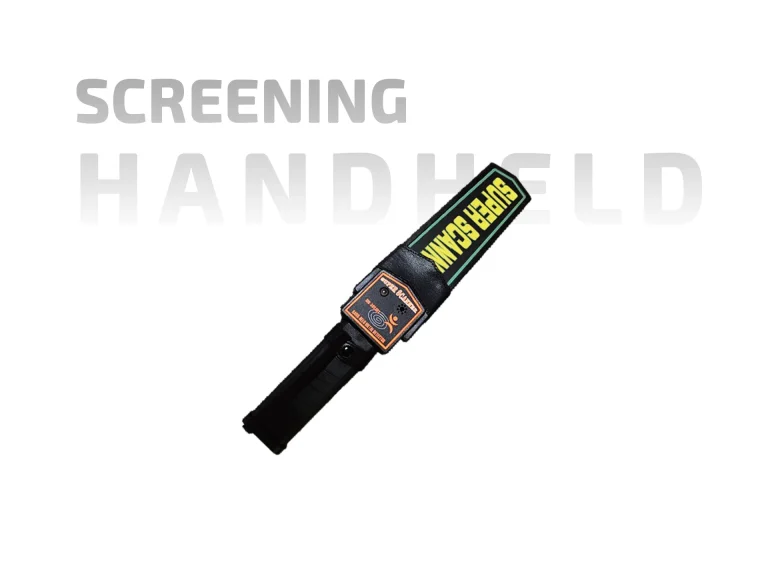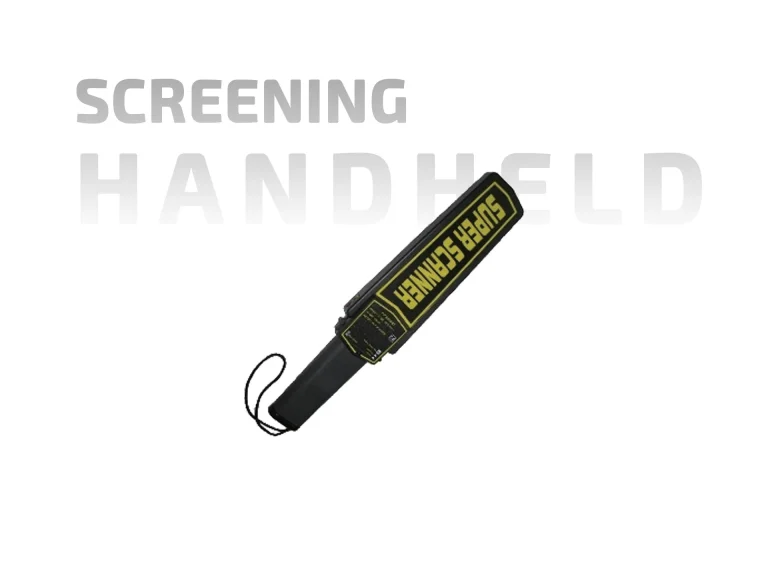
Handheld metal detectors are often treated as the simple backup to a walk-through gate. In practice, the wand is frequently the tool that decides whether an alarm is resolved quickly or turns into a long secondary search. Its sensitivity setting is central to that outcome—and it is also one of the least documented settings at many sites.
This article looks at handheld detector sensitivity from the operator’s side: what the setting changes, which factors affect detection in the field, how to test it without overcomplicating the shift routine, and where handheld units fit alongside fixed screening equipment.

Sensitivity is a detection threshold, not a power setting
A handheld metal detector generates an electromagnetic field near its search head. When a metal object enters that field, the detector compares the disturbance against a threshold. Sensitivity controls how small a disturbance will trigger an alarm.
That means sensitivity is not a “power” level. Raising it does not make the detector more authoritative; it makes it more responsive to small signals. At high settings, the wand may react to zippers, buttons, coins, and small electronics. At low settings, it may pass over small prohibited items. The right level depends on what the operator is expected to find and what the lane can handle in terms of alarm resolution.
What changes effective sensitivity in the field
Two handheld metal detectors set to the same number can behave differently because of how they are used. The table below separates the main variables.
| Factor | Effect on detection | Practical note |
|---|---|---|
| Search head distance from the body | Signal strength drops quickly with distance | Keep the head close and move slowly |
| Sweep speed | Fast sweeps can miss small items | Use a consistent, slow sweep pattern |
| Object size and metal type | Small or non-ferrous items produce weaker signals | Test with items relevant to the site’s threat profile |
| Battery condition | Low battery can affect stability and alarm consistency | Check battery at the start of each shift |
| Nearby metal structures | Can create background interference | Avoid sweeping close to steel frames, vehicles, or barriers |
| Operator technique | Angle and coverage vary between staff | Brief a standard sweep pattern and practise it |
| Detector model and coil design | Different models have different response curves | Follow the manufacturer’s test procedure, then verify on site |
The practical lesson is that sensitivity settings and operator technique are linked. A detector set high but swept too fast may perform worse than a detector set moderately and used with a consistent pattern.
How to set and verify handheld sensitivity
A short, repeatable routine is more useful than a lengthy calibration procedure. The following sequence works for most checkpoint and event environments:
-
Start with the manufacturer’s recommended setting as a baseline.
-
Test with the approved test piece to confirm the unit is functioning.
-
Test with representative items that reflect the site’s threat profile—items similar in size and material to what the operator must detect.
-
Test at the expected search distance rather than pressing the detector against the object.
-
Adjust in small steps and re-test after each change.
-
Record the final setting and test items so the next shift can verify it.
-
Re-test after battery changes, drops, or repairs.
The goal is a setting that detects target items while keeping avoidable alarms manageable. That balance is site-specific. A busy event lane may need a moderate setting and a fast resolution script; a high-security checkpoint may need a higher setting and more time per search.
Common sensitivity mistakes
| Mistake | Why it happens | Better approach |
|---|---|---|
| Setting sensitivity to maximum | Assuming higher is always safer | Set against the threat profile and test with representative items |
| Testing only with the manufacturer’s test piece | Confusing function testing with threat testing | Add items relevant to the site |
| Ignoring battery condition | Treating the detector as maintenance-free | Check battery at shift start and record it |
| Sweeping too fast | Trying to clear queues quickly | Brief a slow, consistent sweep pattern |
| Adjusting sensitivity to fix interference | Treating a site problem as a settings problem | Move away from metal structures or identify the interference source |
| No written record | Relying on memory between shifts | Record setting, test items, and results |
Where handheld detectors fit in the lane
Handheld detectors are usually a secondary tool, not the primary screen. They resolve alarms from a walk-through gate, check attendees who cannot pass through a standard gate, and support targeted searches. That means their sensitivity setting should be considered together with the gate setting and the alarm resolution script.
For event lanes, the handheld detector is often the step immediately after a gate alarm. The layout of that lane—queue space, secondary screening area, and staff positions—affects how quickly the handheld check can be completed. Our temporary deployment guide for event metal detector gates covers those lane design and staffing considerations in more detail.
Final takeaway
Handheld metal detector sensitivity is a threshold setting, not a measure of authority. Set it against the site’s threat profile, test it with representative items at realistic search distances, and record the result so the next shift can verify it. Check batteries and brief a consistent sweep pattern. Used that way, the handheld detector becomes a reliable resolution tool rather than a source of avoidable alarms.